How to Throw a Small Dinner Party with Nicole Regan

IMG_8394.jpg

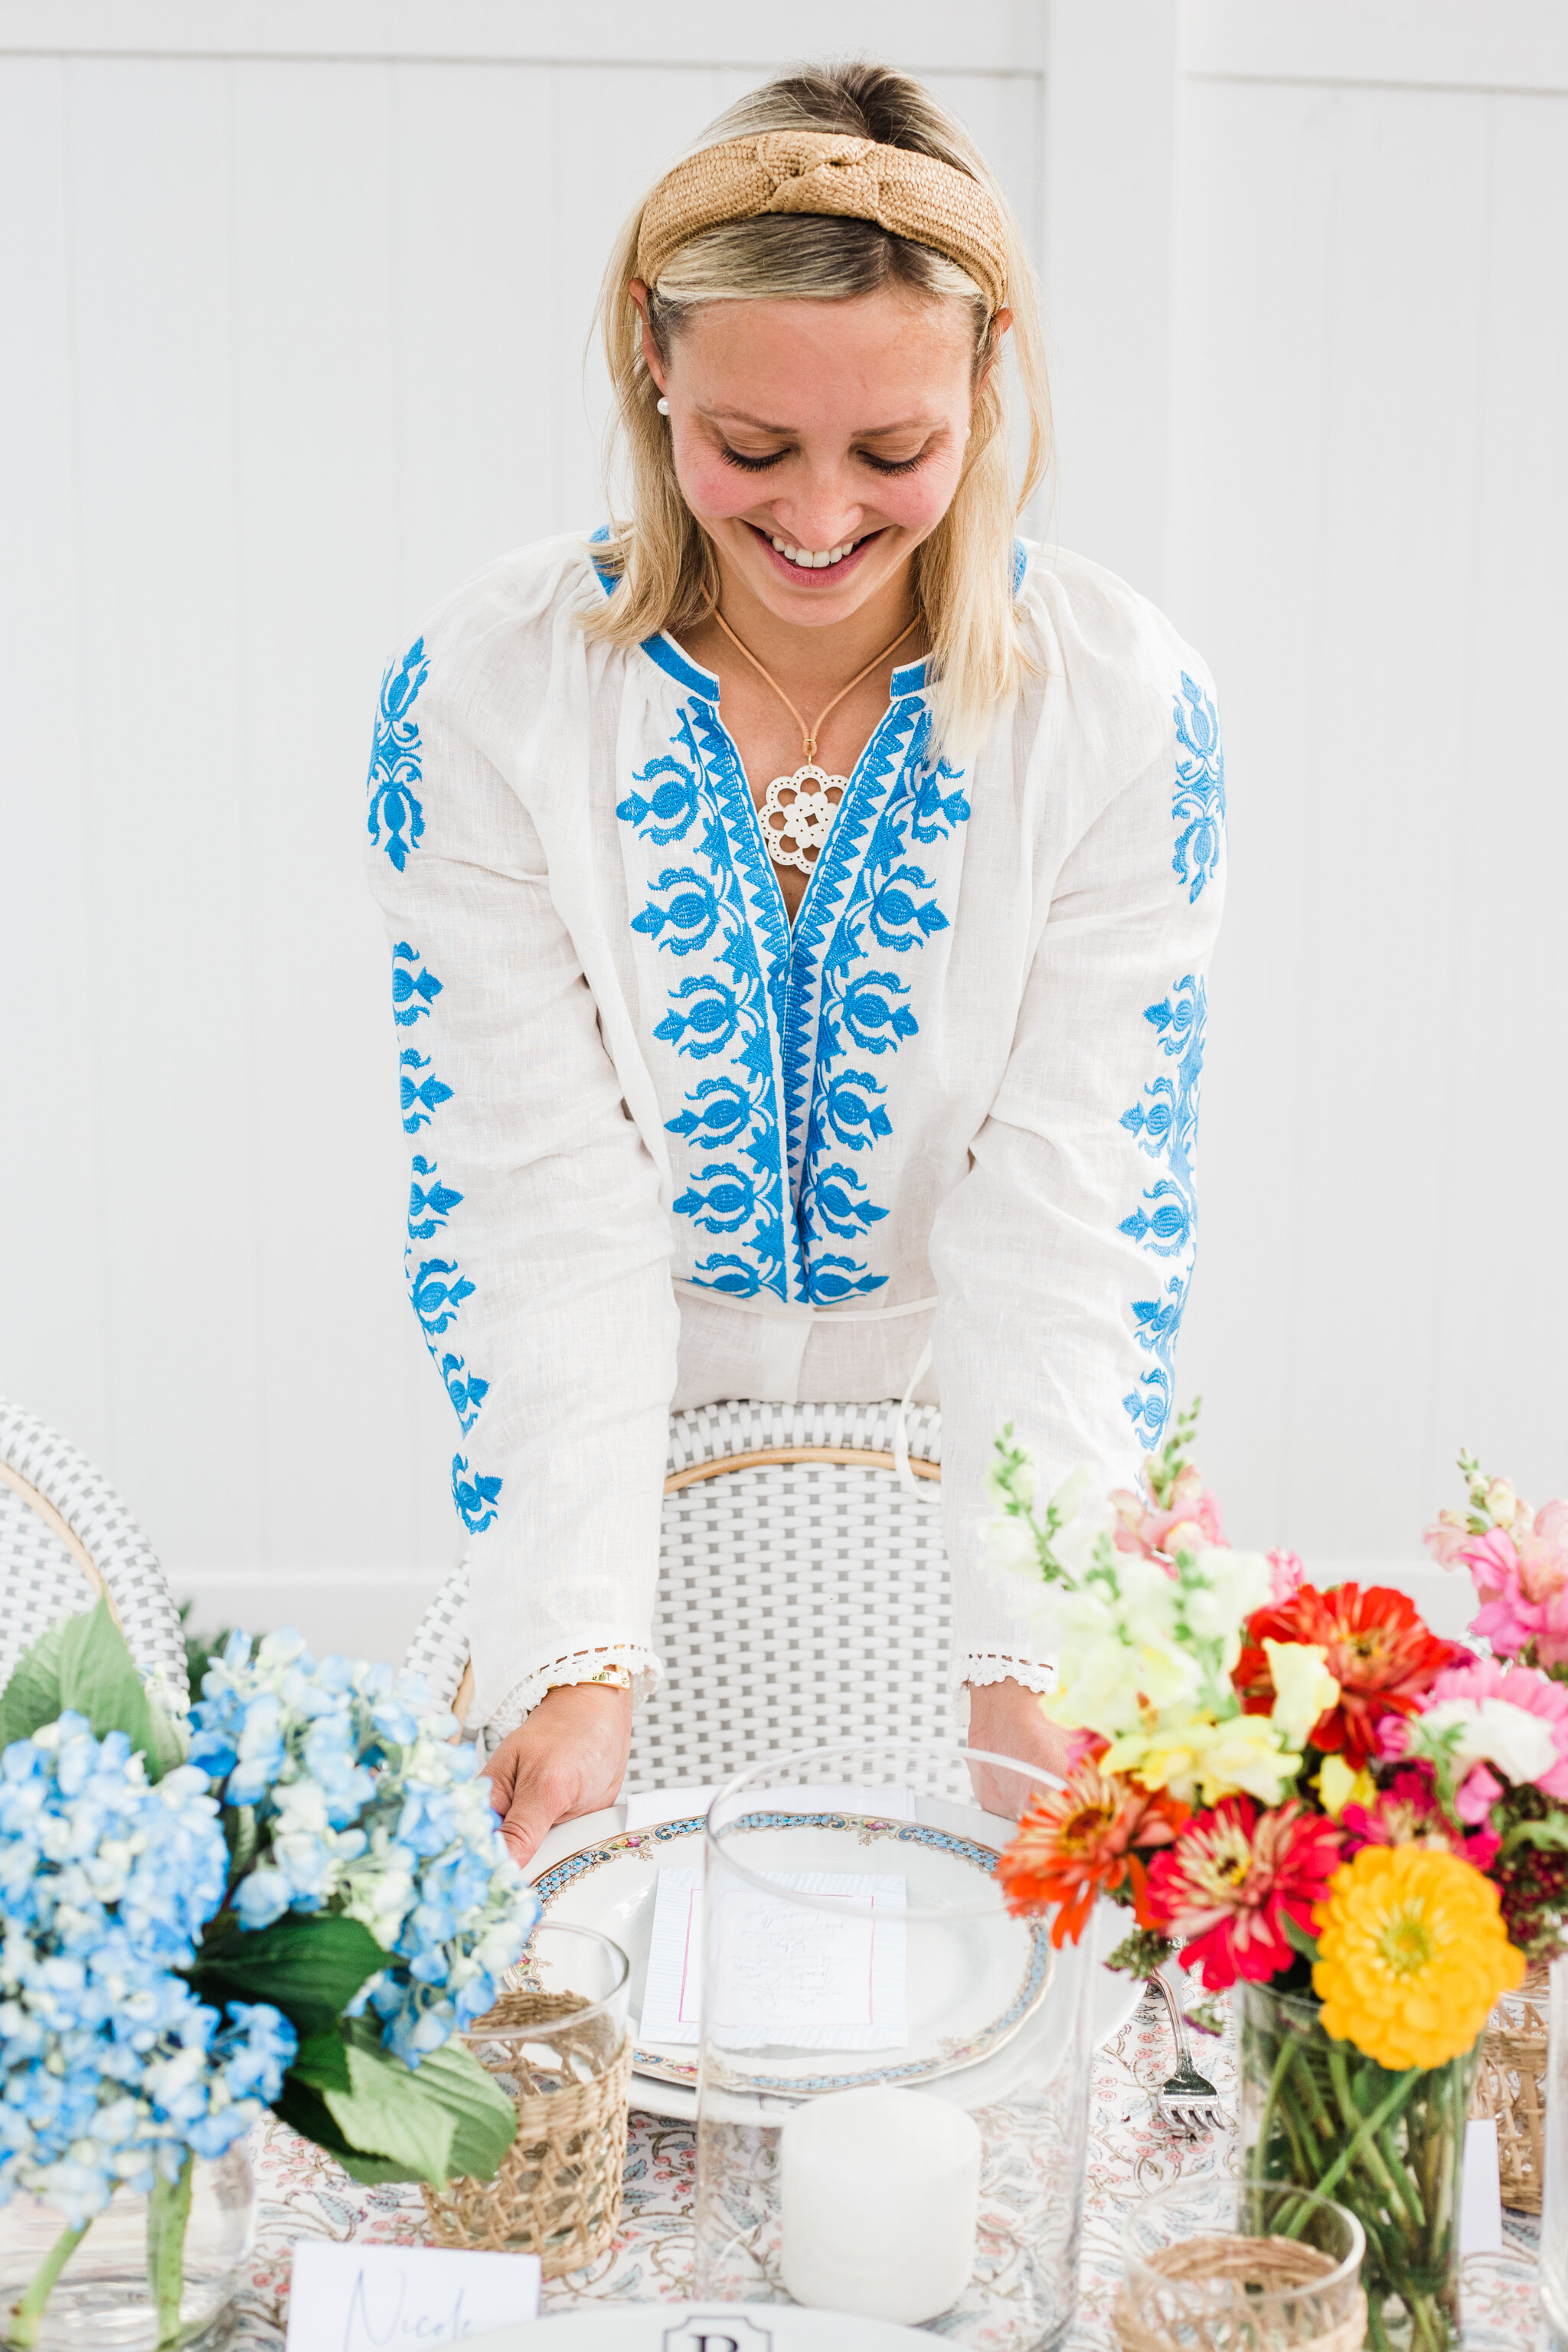
I am thrilled share my collaboration with Nicole Regan the creator behind the lifestyle and entertaining blog Cedar and Rush. 

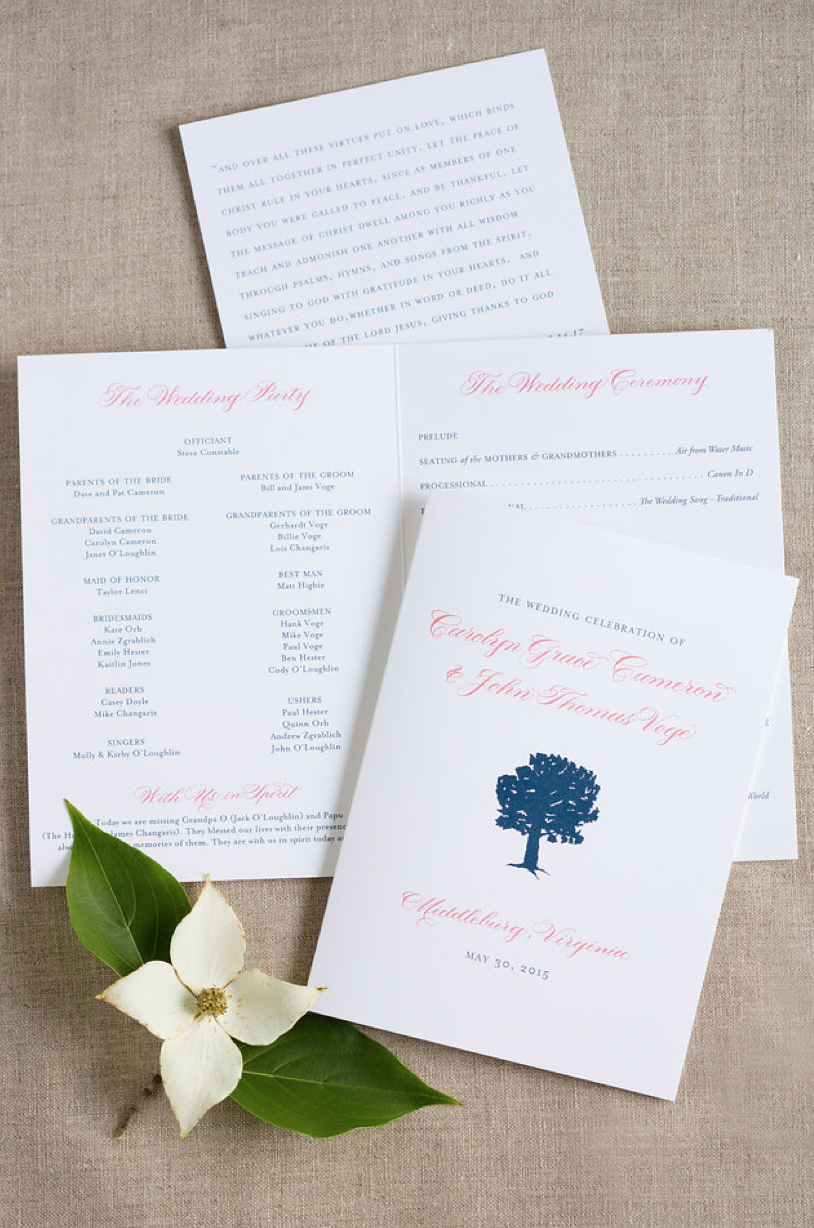
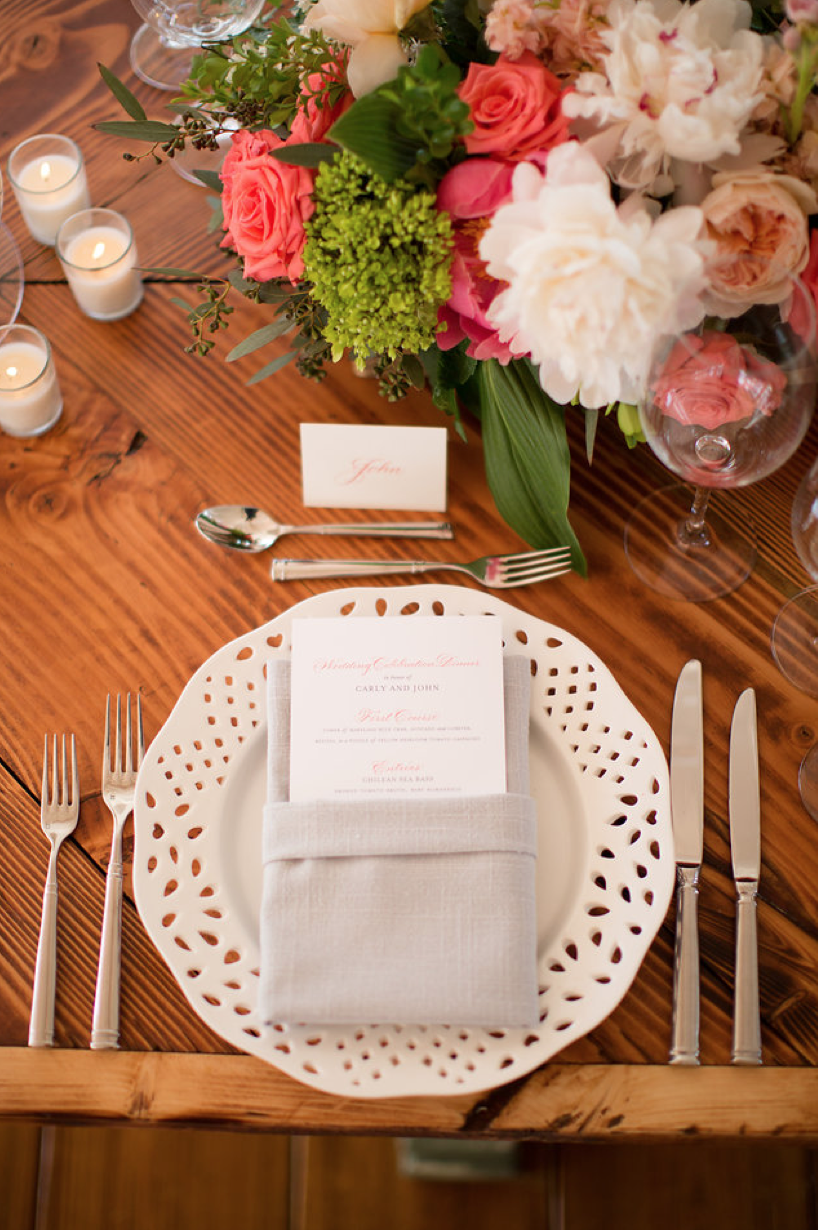
Nicole asked me to design the menus, place cards, and invites for her outdoor summer dinner party. “Adding stylish menus is a fab way to take your dinner party up a notch,” said Nicole, “especially this crazy summer with limited restaurant seating and reservations.” Little touches like personalized place cards and menus add interest and charm to intimate events.

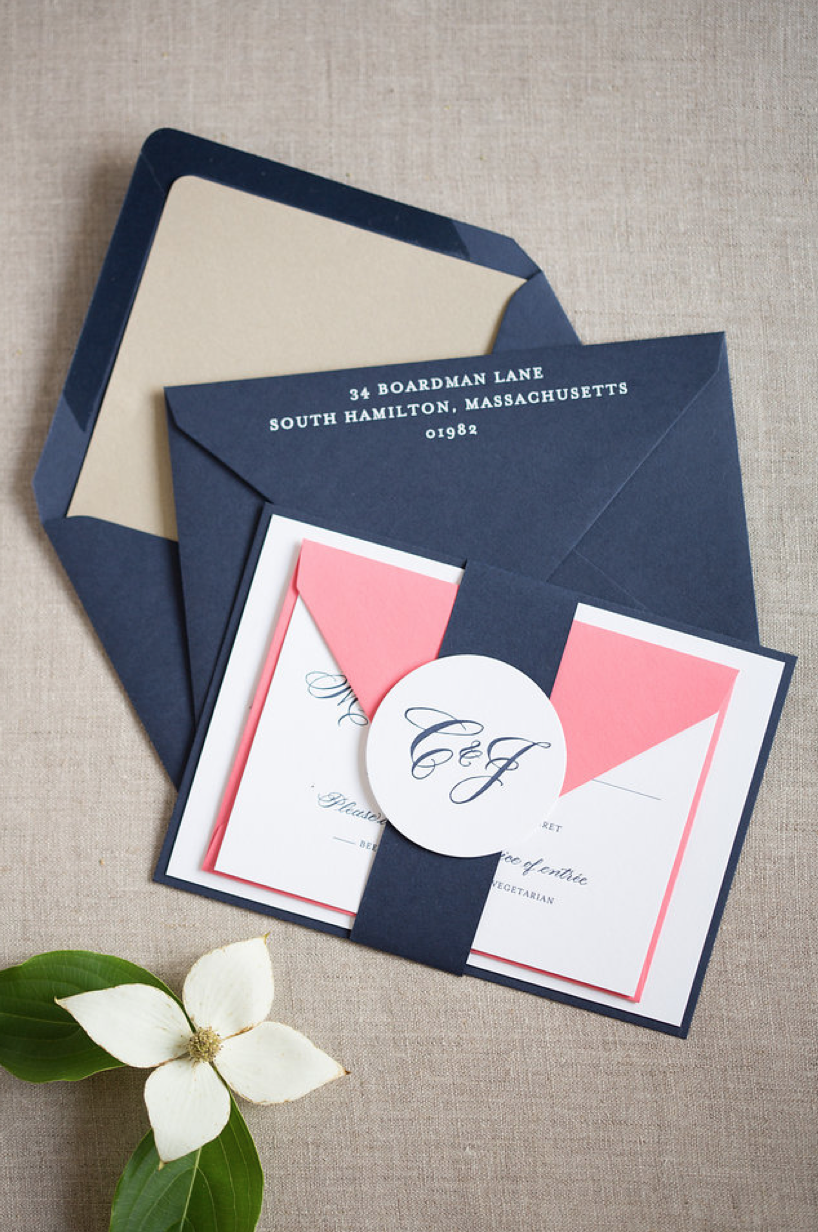
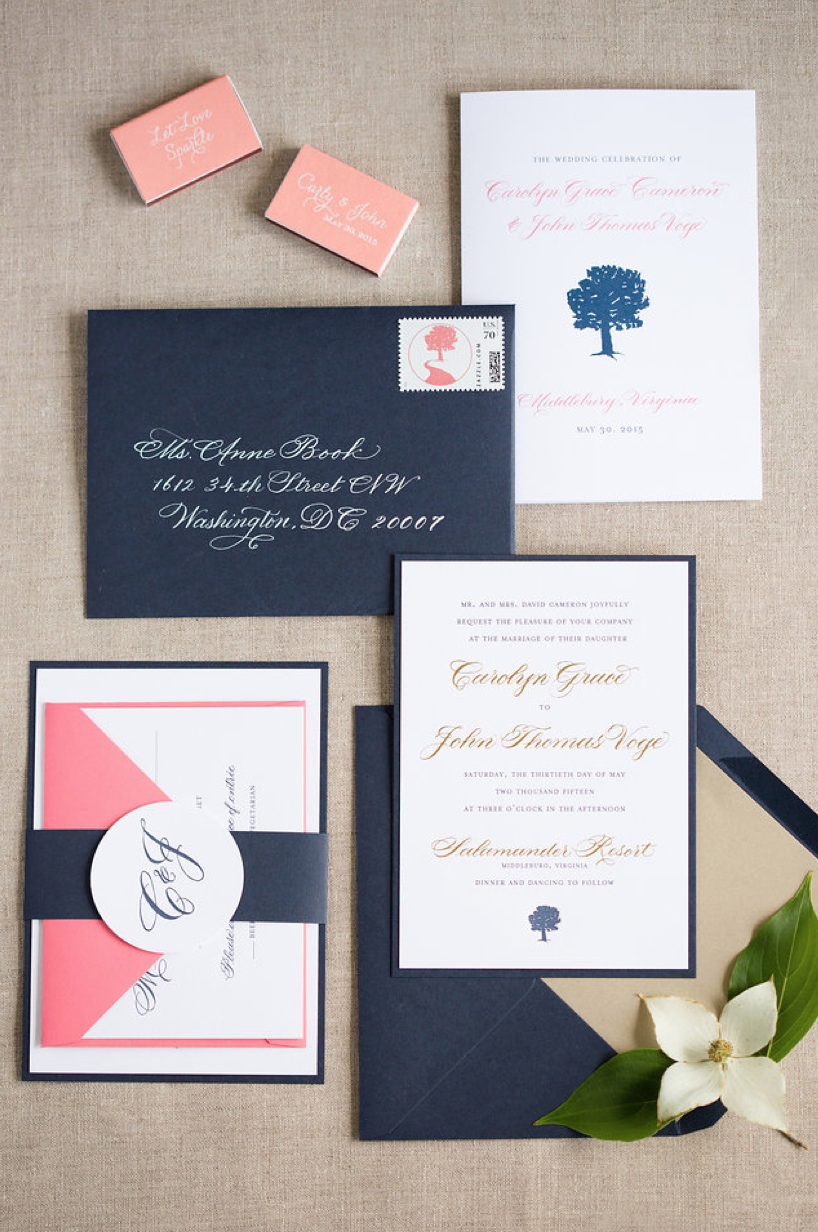
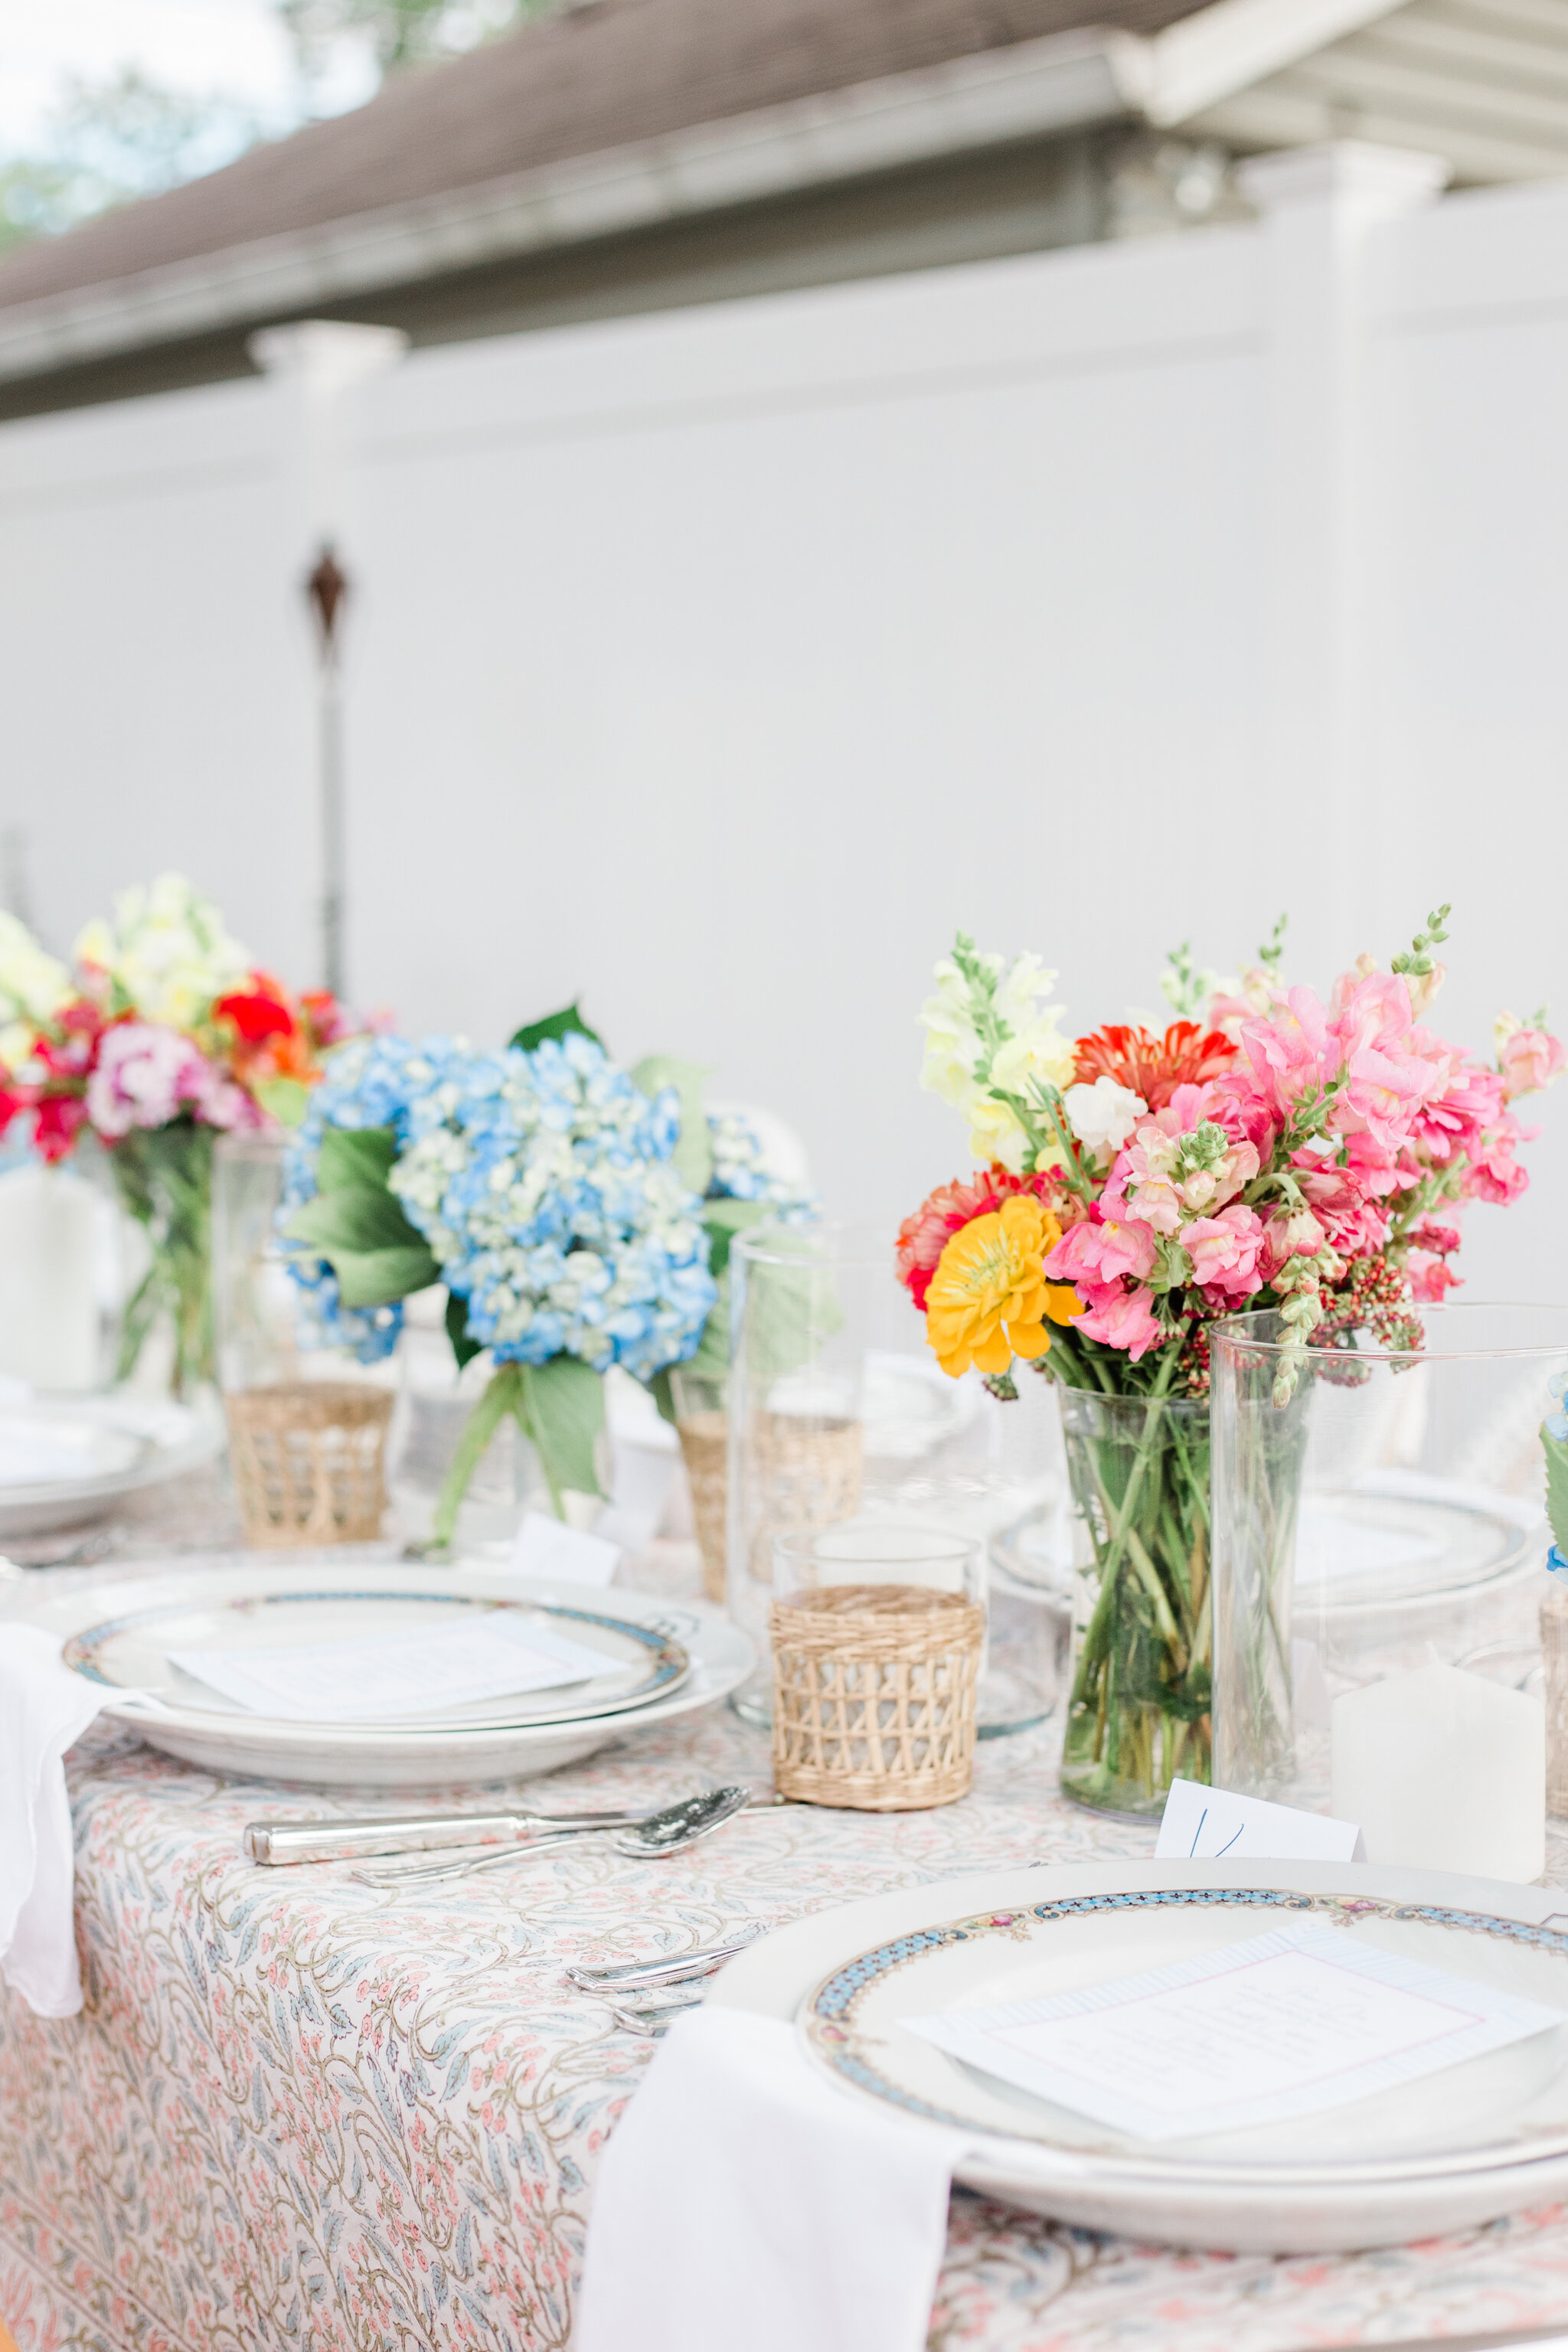
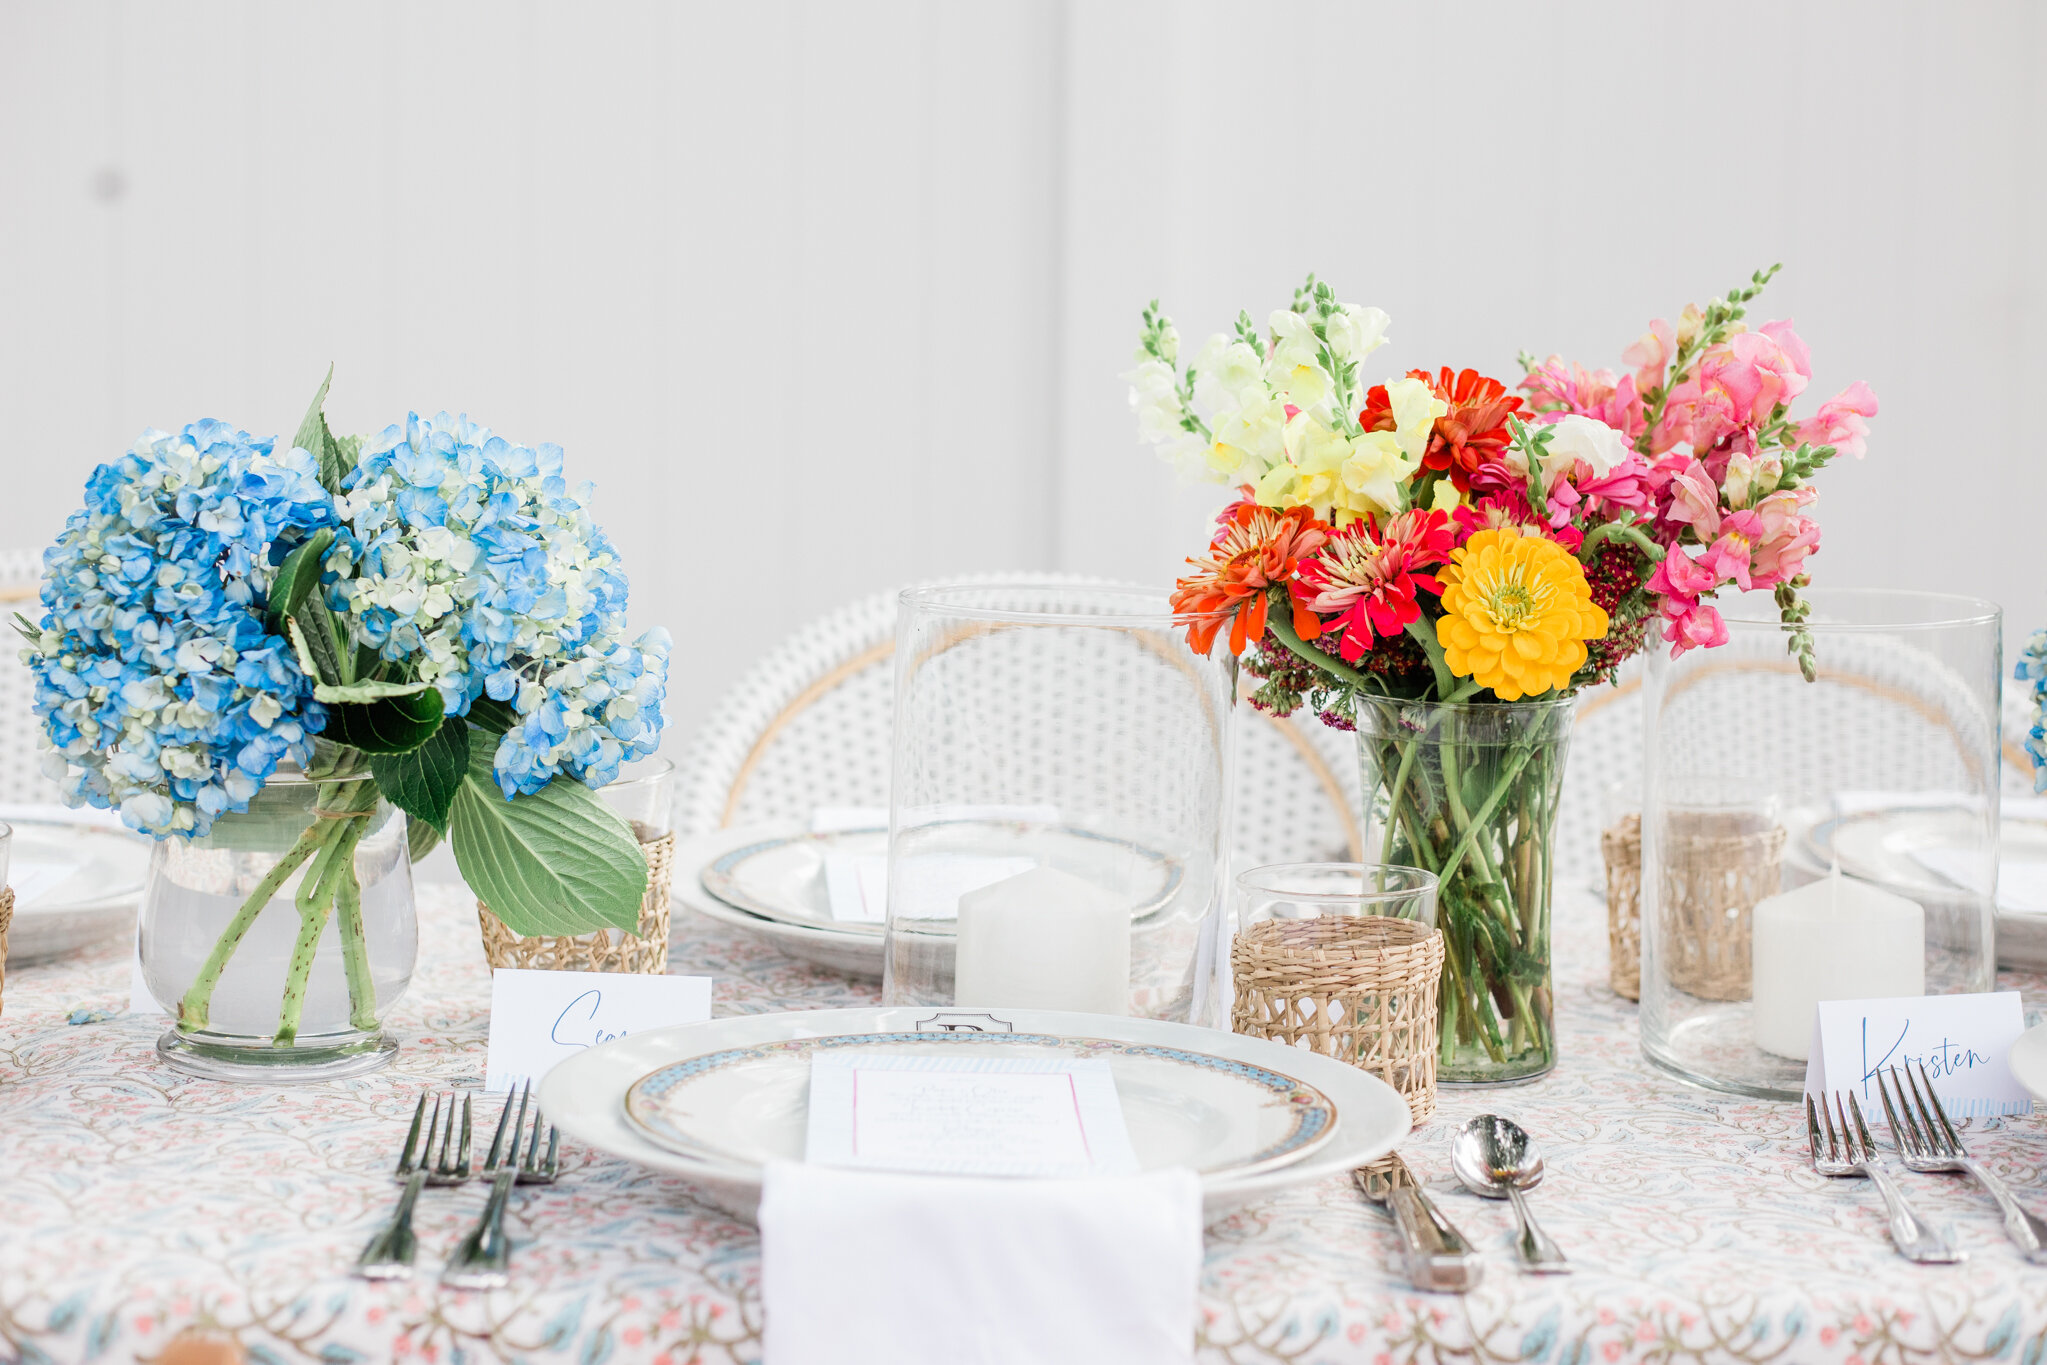
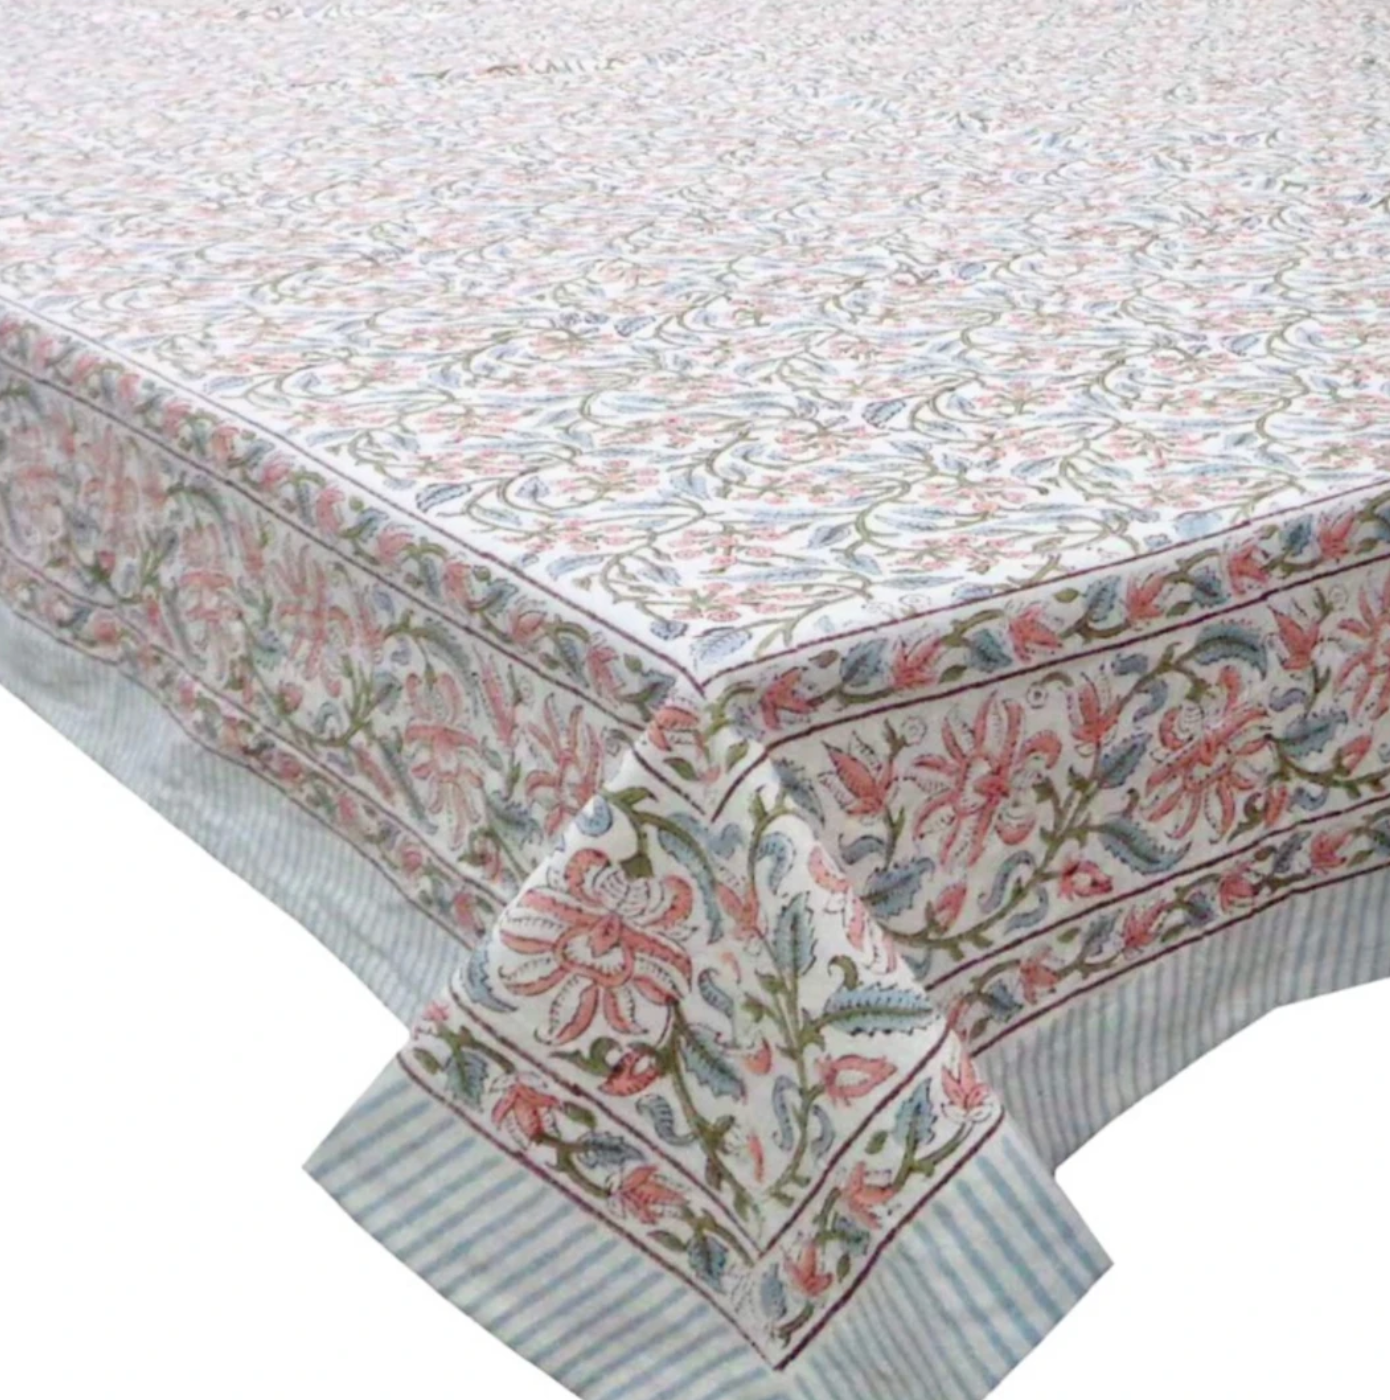
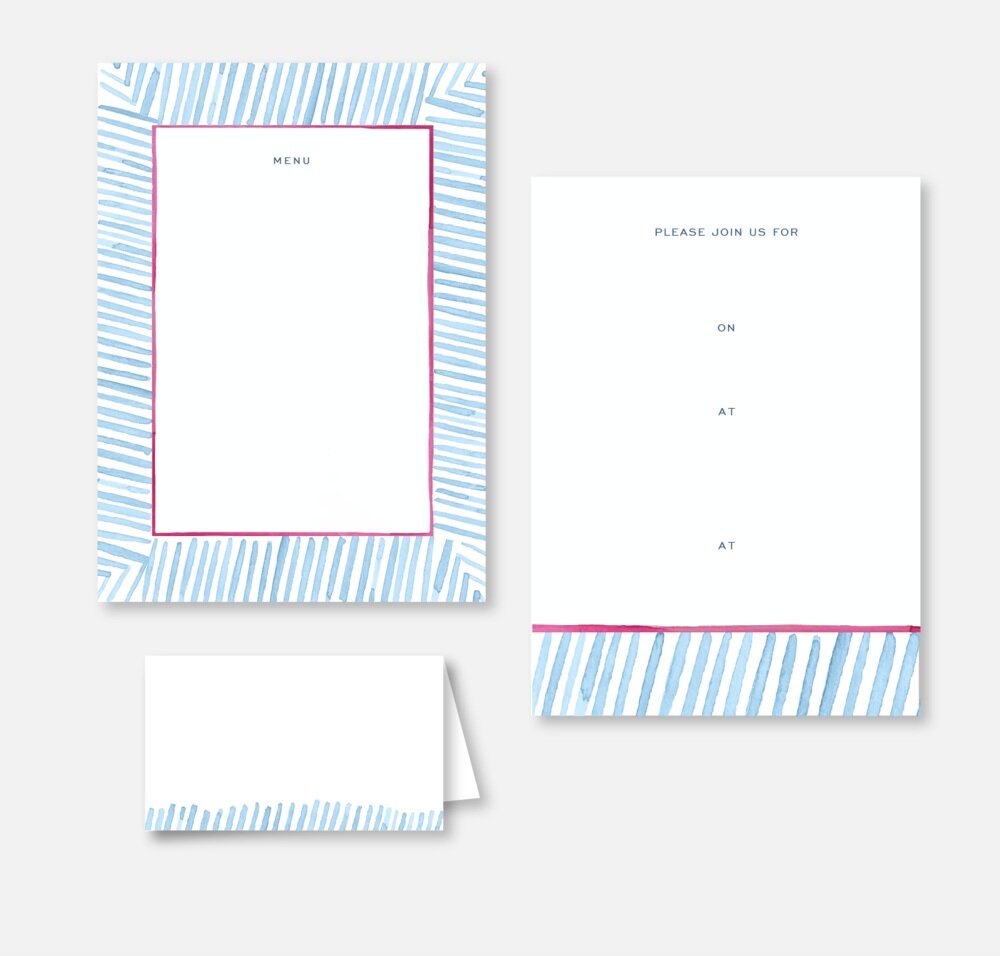
She had already selected Blue and Weil’s Elliott tablecloth with a light blue, shades of pink, and white color palette. I got to work with my watercolors and painted a border design for the paper goods with the tablecloth pattern in mind. I was especially drawn to the striped corner detail and use that design element as inspiration in creating the borders for the menus, place cards, and invitations.

IMG_8292.jpg
IMG_8380.jpg
IMG_8334.jpg

For event designers like myself, 2020 is the year of adapting to the unprecedented times and adjusting to be able to thrive again as a small business. I usually design for events with hundreds of guests and had to adjust my usual product offering to be well suited for a hostess of a small dinner party, so I came up with the idea of fill in party packs for ten guests, which includes ten menus, ten invites (and envelopes) and ten place cards with pre- printed watercolor borders and space for the hostesses like Nicole to write in the invitation details, menu and guest names on the place cards by hand.

 
IMG_8245.jpg
IMG_8335.jpg


“Adding stylish menus is a fab way
to take your dinner party up a notch!”
- Nicole

IMG_8340.jpg
IMG_8213.jpg
IMG_8206.jpg

Meet Nicole Regan

Creator behind the lifestyle + entertaining blog Cedar and Rush. Nicole builds captivating narratives through styling and storytelling. She is the founder of her own marketing company. Her expertise and refined style provide a multidimensional viewpoint that sparks a bold and fresh way of thinking.

Check out more from Nicole…
@nicolearegan | www.cedarandrush.com
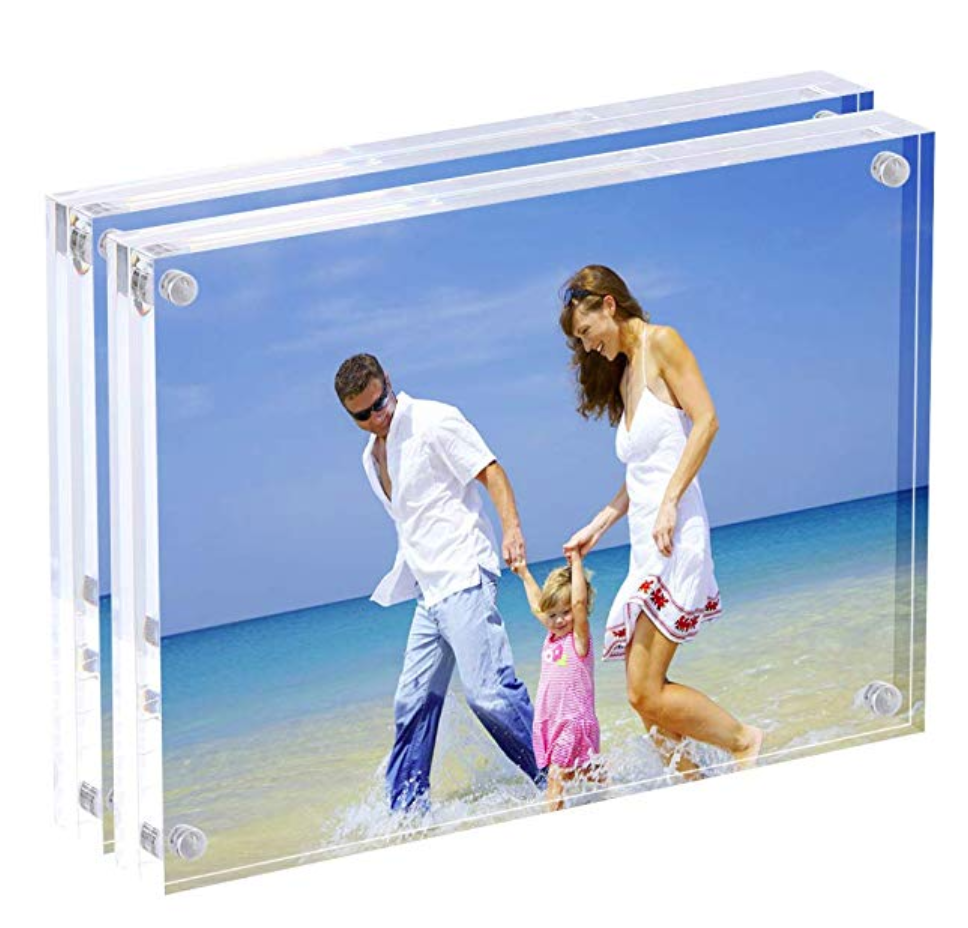
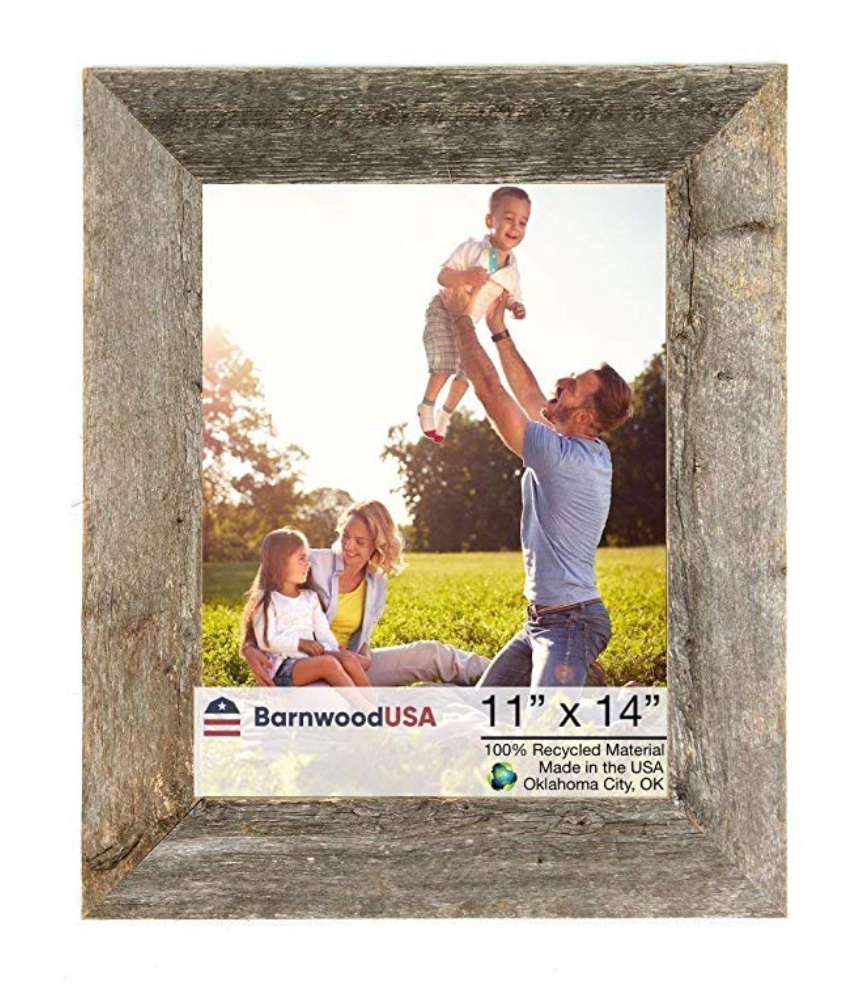
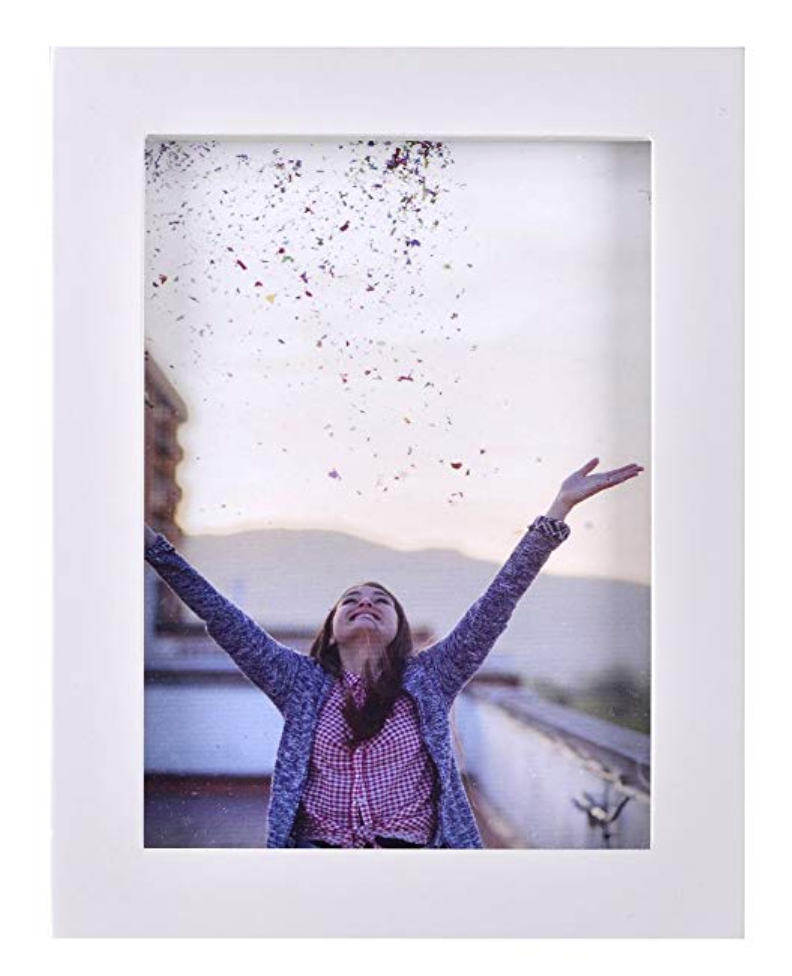
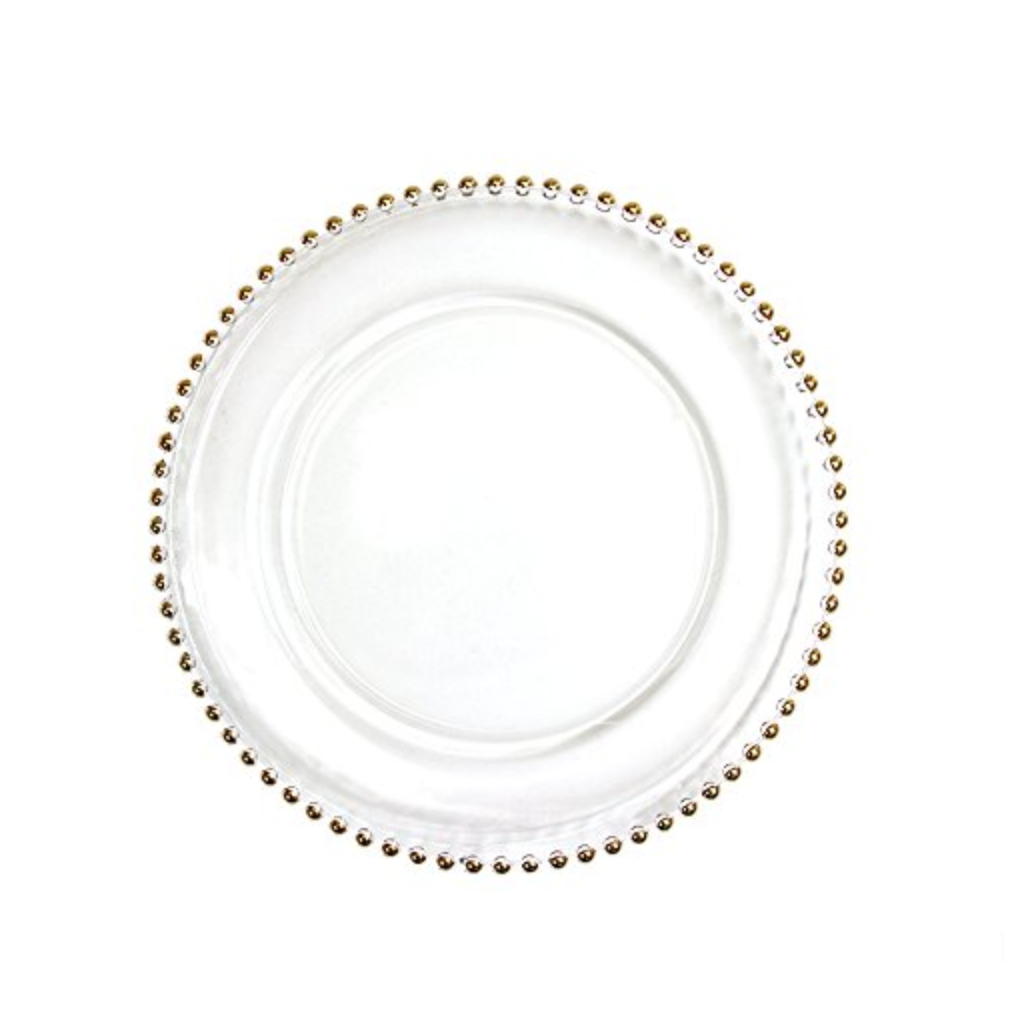
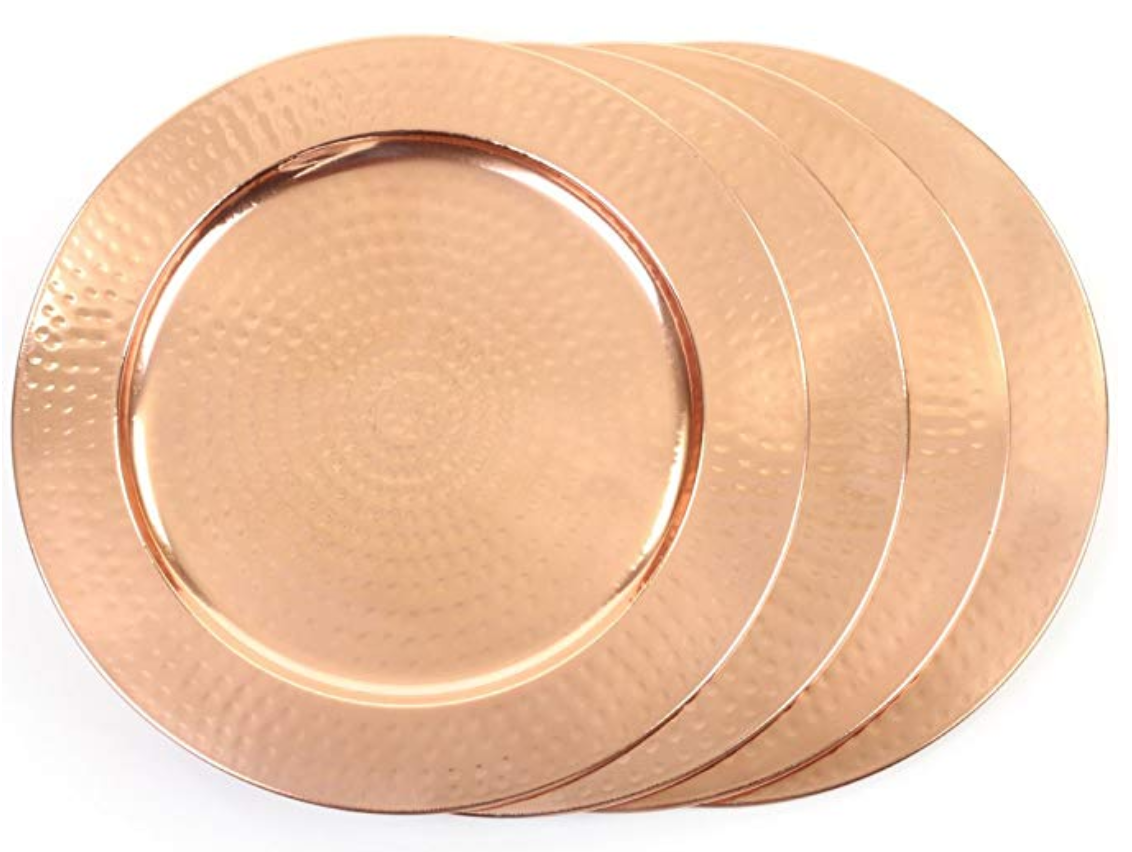
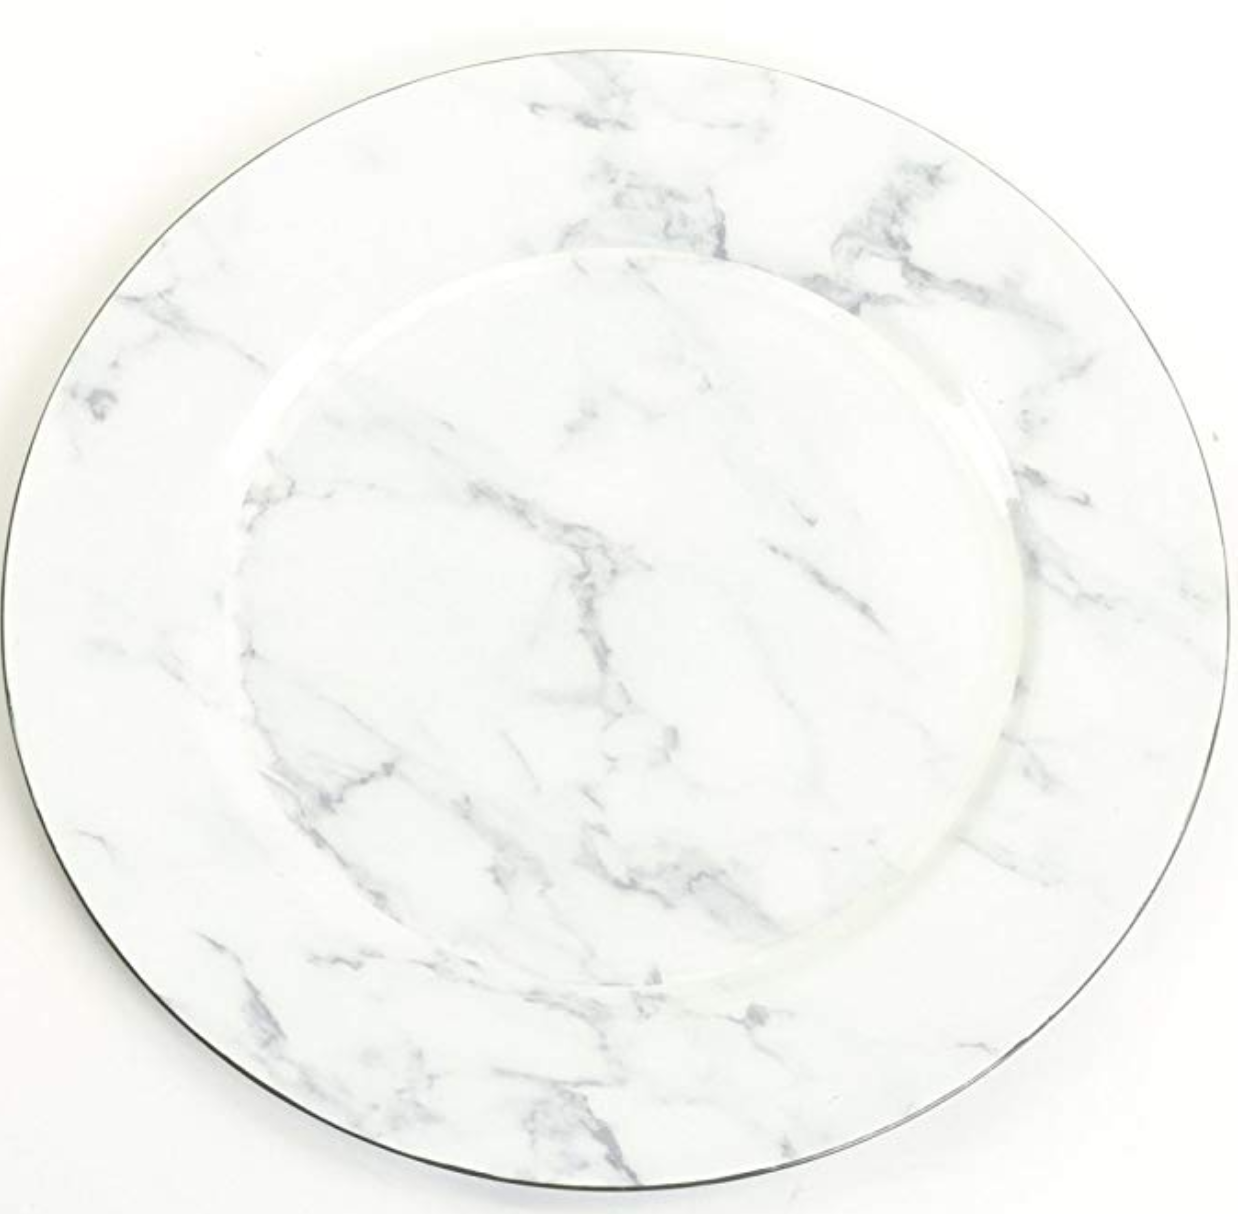
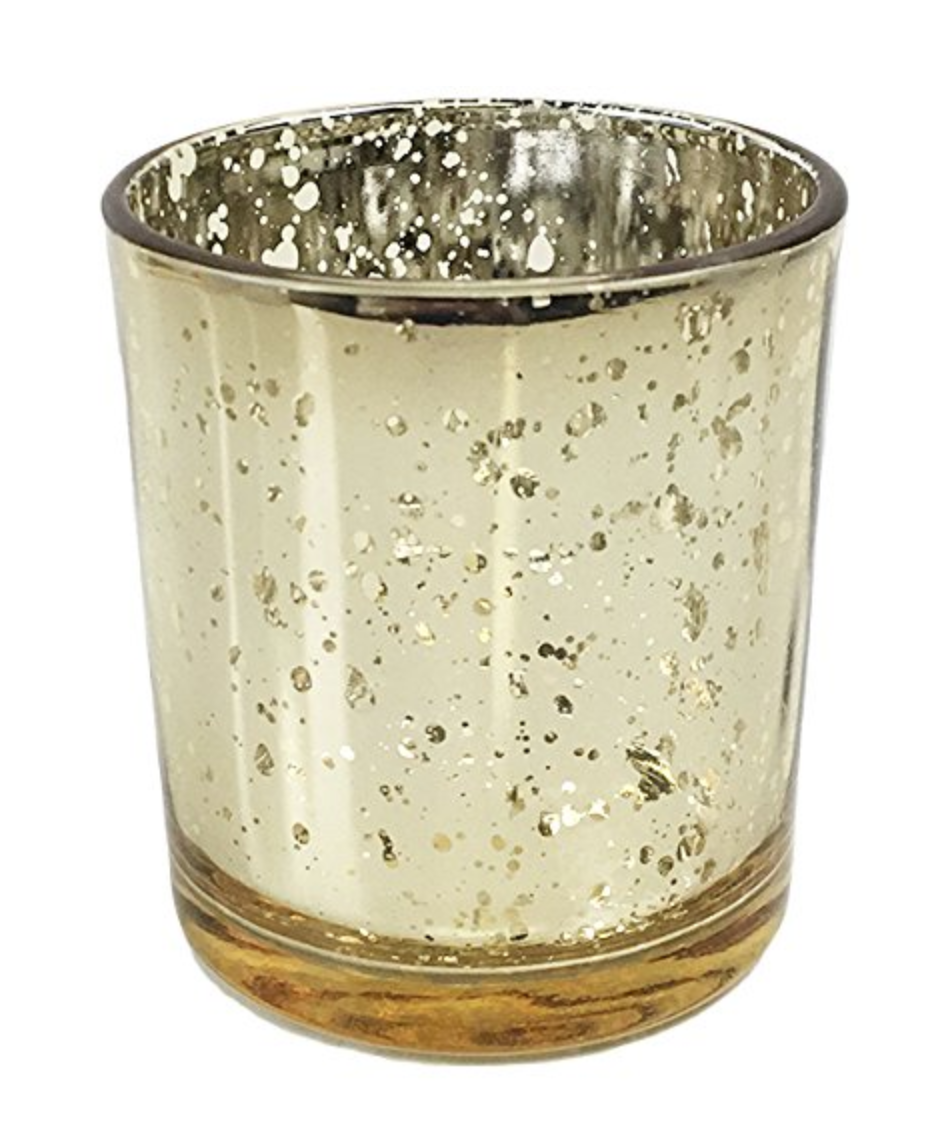
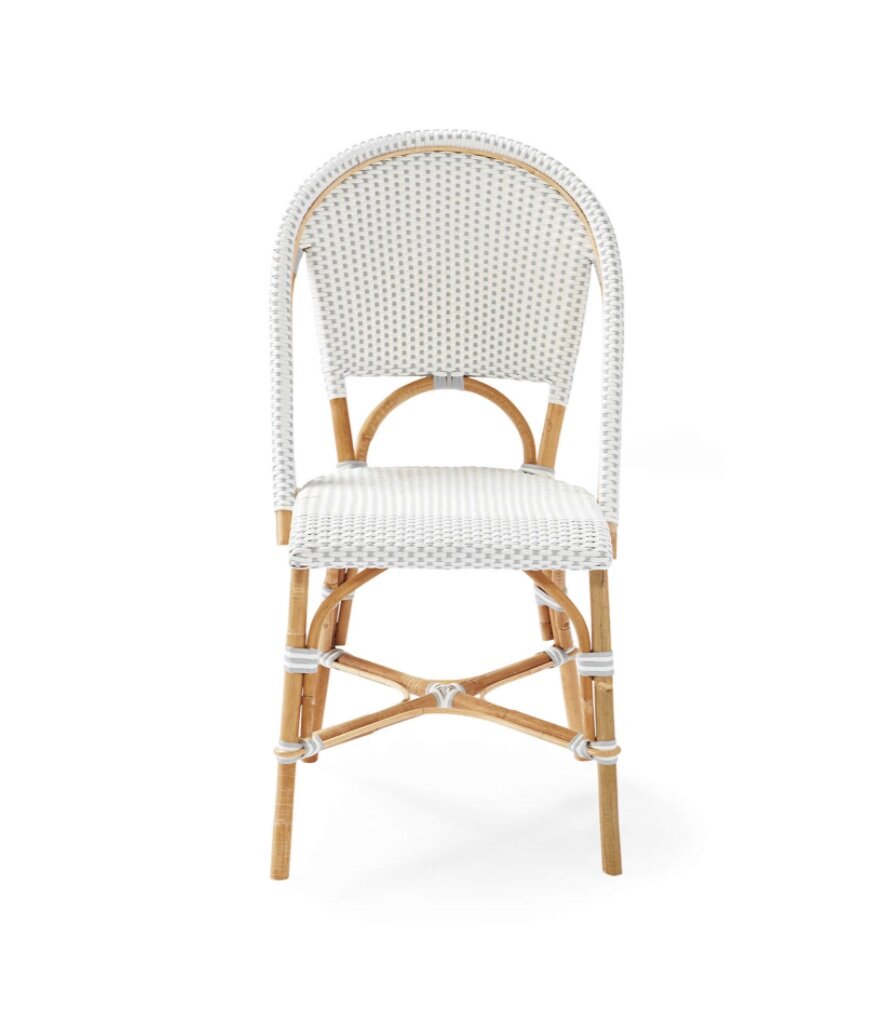
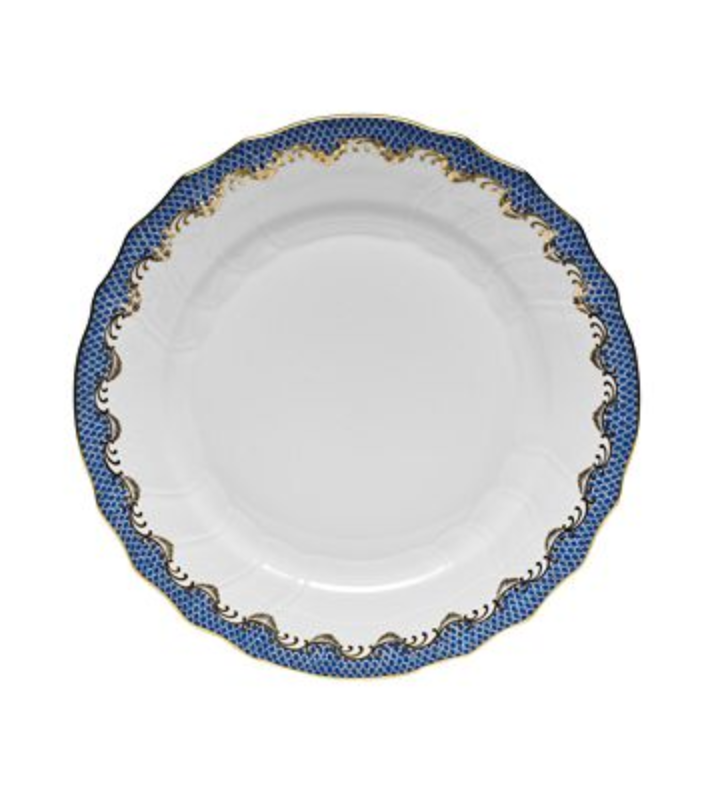
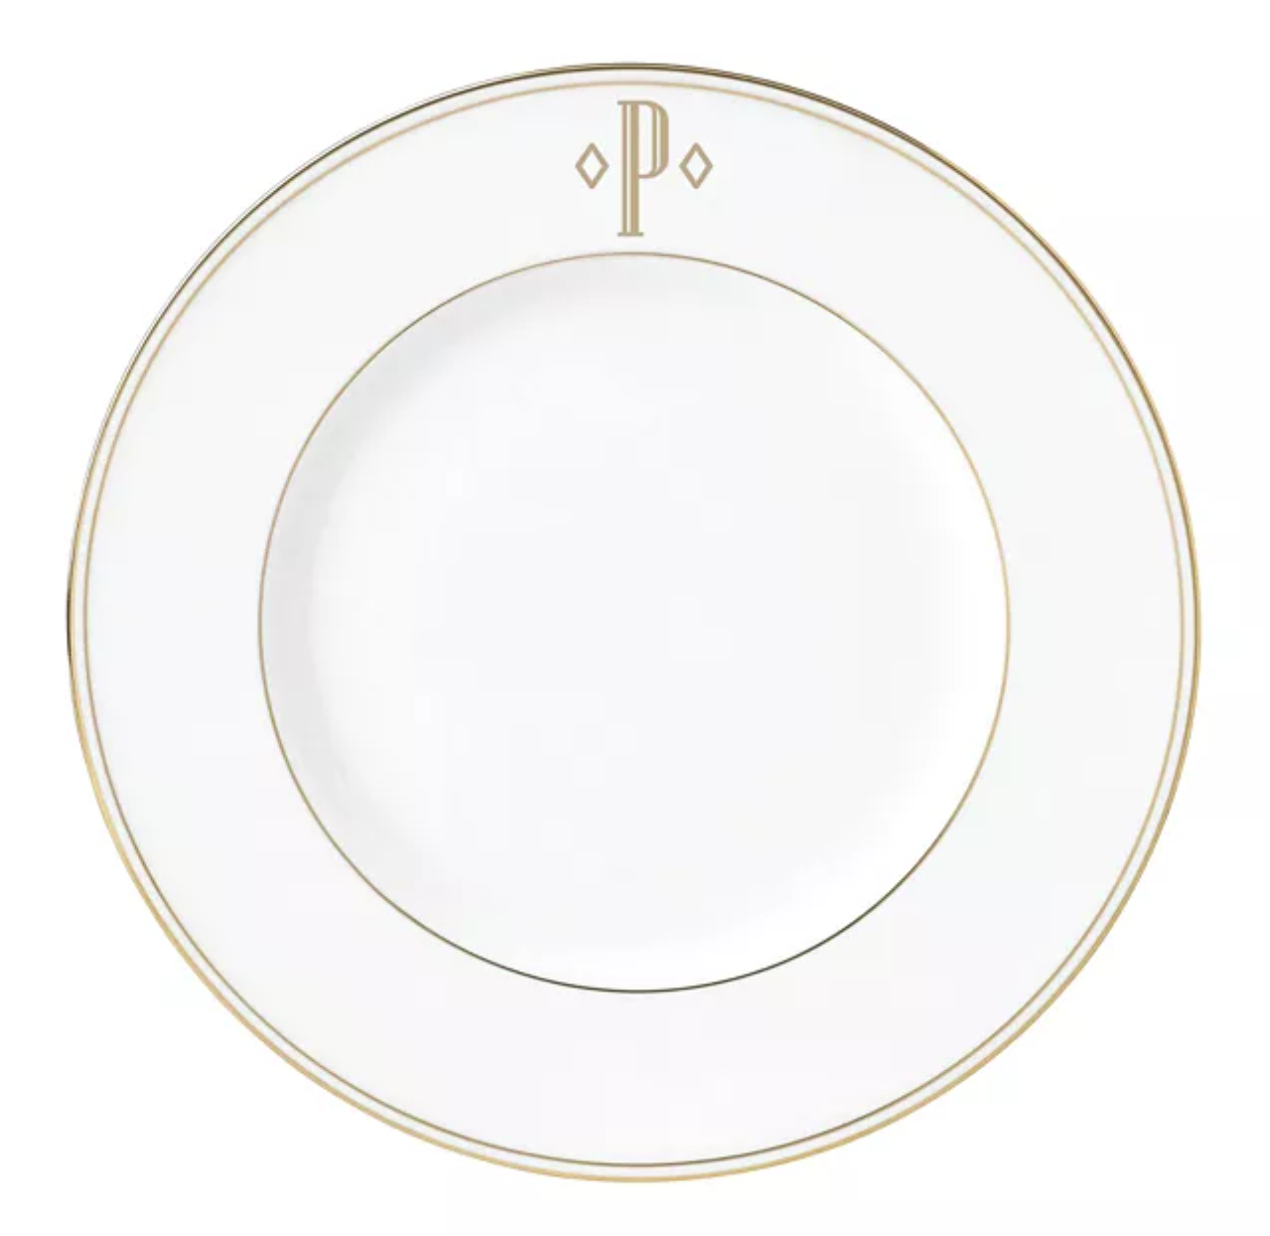
IMG_8392.jpg

SHOP THIS LOOK

Photos by Mary McCoy of Wonder and Awe Photography & Tablescape and Styling by Nicole Regan of Cedar and Rush

How to get the perfect photos of your wedding invitation

There are so many details to plan for your wedding day, so to get the perfect photos of your wedding invitations and other paper goods I put together some advice for brides.

Carly and John’s wedding photography by Patricia Lyons, styling by wedding planner Anne Book, invitation design by Charm Studio and calligraphy by Stacey Shapiro.

Carly and John’s wedding photography by Patricia Lyons, styling by wedding planner Anne Book, invitation design by Charm Studio and calligraphy by Stacey Shapiro.

Choose a photographer

When selecting your photographer notice their photos of paper goods and make sure you like how they style and shoot them. Discuss what you are looking for before hiring them.

Plan in advance, starting with the save the dates

As you begin to design your paper goods, order an extra specifically for photos.

Order an extra for photography

When ordering save the dates and invitations include an extra with envelope and address to be used only for photography. For the address, you might want it to include your maiden name and current address as a nice keepsake. Also, make sure to include all cards and elements!

Make a “Photography box”

Start a “photography box” to have one place where you keep all samples for the photographer. Add the samples in it as you design each paper good so they all stay pristine and ready to be photographed.

Don’t forget the welcome Bags and Day of Elements

Make sure to include a sample of your welcome bags for your photographer too! Make a shot list of other day of details you want included too; menus, signature drink signage, cups and more!

Photo Styling

Talk to your photographer ahead of time about shooting the paper goods. Discuss styling elements, backgrounds, florals, trays, jewelry and other accessories to be included in the photos. Collect your styling elements and have them in the photography box ready to hand off to the photographer on your wedding day.

Carly and John’s wedding is a perfect example of beautiful invitation and paper good photographs (below).

Photography by Patricia Lyons, styling by wedding planner Anne Book, invitation design by Charm Studio and calligraphy by Stacey Shapiro. For more photos from Carly and John’s wedding view their gallery.

I hope this helps you prepare your picture perfect photos!

xoCatherine-01.jpg


Wedding Reception Essentials

It’s all about the details!

Putting the finishing touches on your reception paper goods makes all the difference for a polished overall look. I have collected some of my favorite examples from weddings I have helped design with tips on how to archive this look for your wedding.

Table Number Holders:

Pretty table number holders are actually really hard to find. I have put together a collection of classic simple and pretty holders and where you can find them.

Abbey and Jeff 2.png
Screen Shot 2016-12-01 at 9.58.17 AM.png
LisaDiederichPhotography_Elena&Rob-609.jpg

CHARGERS:

Chargers make the perfect backdrop for your menus, I especially love how it looks with a round menu.

Screen Shot 2016-09-20 at 9.56.24 AM.png
IMG_4391.JPG
meggiepatwedding_0728.jpg
Screen Shot 2015-09-01 at 11.09.10 AM.png
Bishops_Bay_Wedding-00164_w980_h_q85.jpg

Frames:

A simple acrylic, silver or white frames help subtly give your table numbers, menus and other signage a finished look. I suggest the simpler the better and let the signage and other decor like florals take center stage.

NicodemCreative-McCaskeyWedding-IndianHillClubWinnetkaIL-516.jpg
Screen Shot 2017-04-18 at 4.45.43 PM.png
meggiepatwedding_0752.jpg

Shop This Post

(Affiliate links included)

All photos above are my work from real weddings. To see more photos from these weddings please see the Charm Studio gallery.

How to Send Your Wedding Invitations

The 4 S’s of sending your invitations (stuffing, stamping, sealing and sending) simplified and my list of essential supplies to get the job done right.

Stuffing:

  • Place the cards from smallest on top to largest on bottom so that all cards will be seen when your guest removes it from the envelope.

  • Remember to include a stamp on the response card envelope. Most response card envelopes will need a forever stamp, but if your response card has anything 3-D (ribbon, wax seal, etc) or is a square it will need more postage than a forever stamp. More on stamps below…

Stamping:

  • Most wedding invitations will need “Two Ounce” or “extra postage” (more than a forever stamp) for the outer envelope. Please always confirm the amount of postage needed with the post office you plan to send the invitations from before buying your postage. I have learned it can vary from post office to post office.

  • As I mentioned above, please remember to include a stamp on the response card envelope. Most response card envelopes will need a forever stamp, but if your response card has anything 3-D (ribbon, wax seal, etc) or is a square it will need more postage than a forever stamp.

Sealing:

Sending:

  • Double check all postage required with the post office you plan to send from!

  • You can ask for “Hand Canceling” so that they won’t go thru the machine, but honestly I think they all go thru the machine anyway now. That is what I have been told and found to be true, unfortunately!